Pages

Showing posts with label hearts. Show all posts

Thursday, February 13, 2014

Crayon time


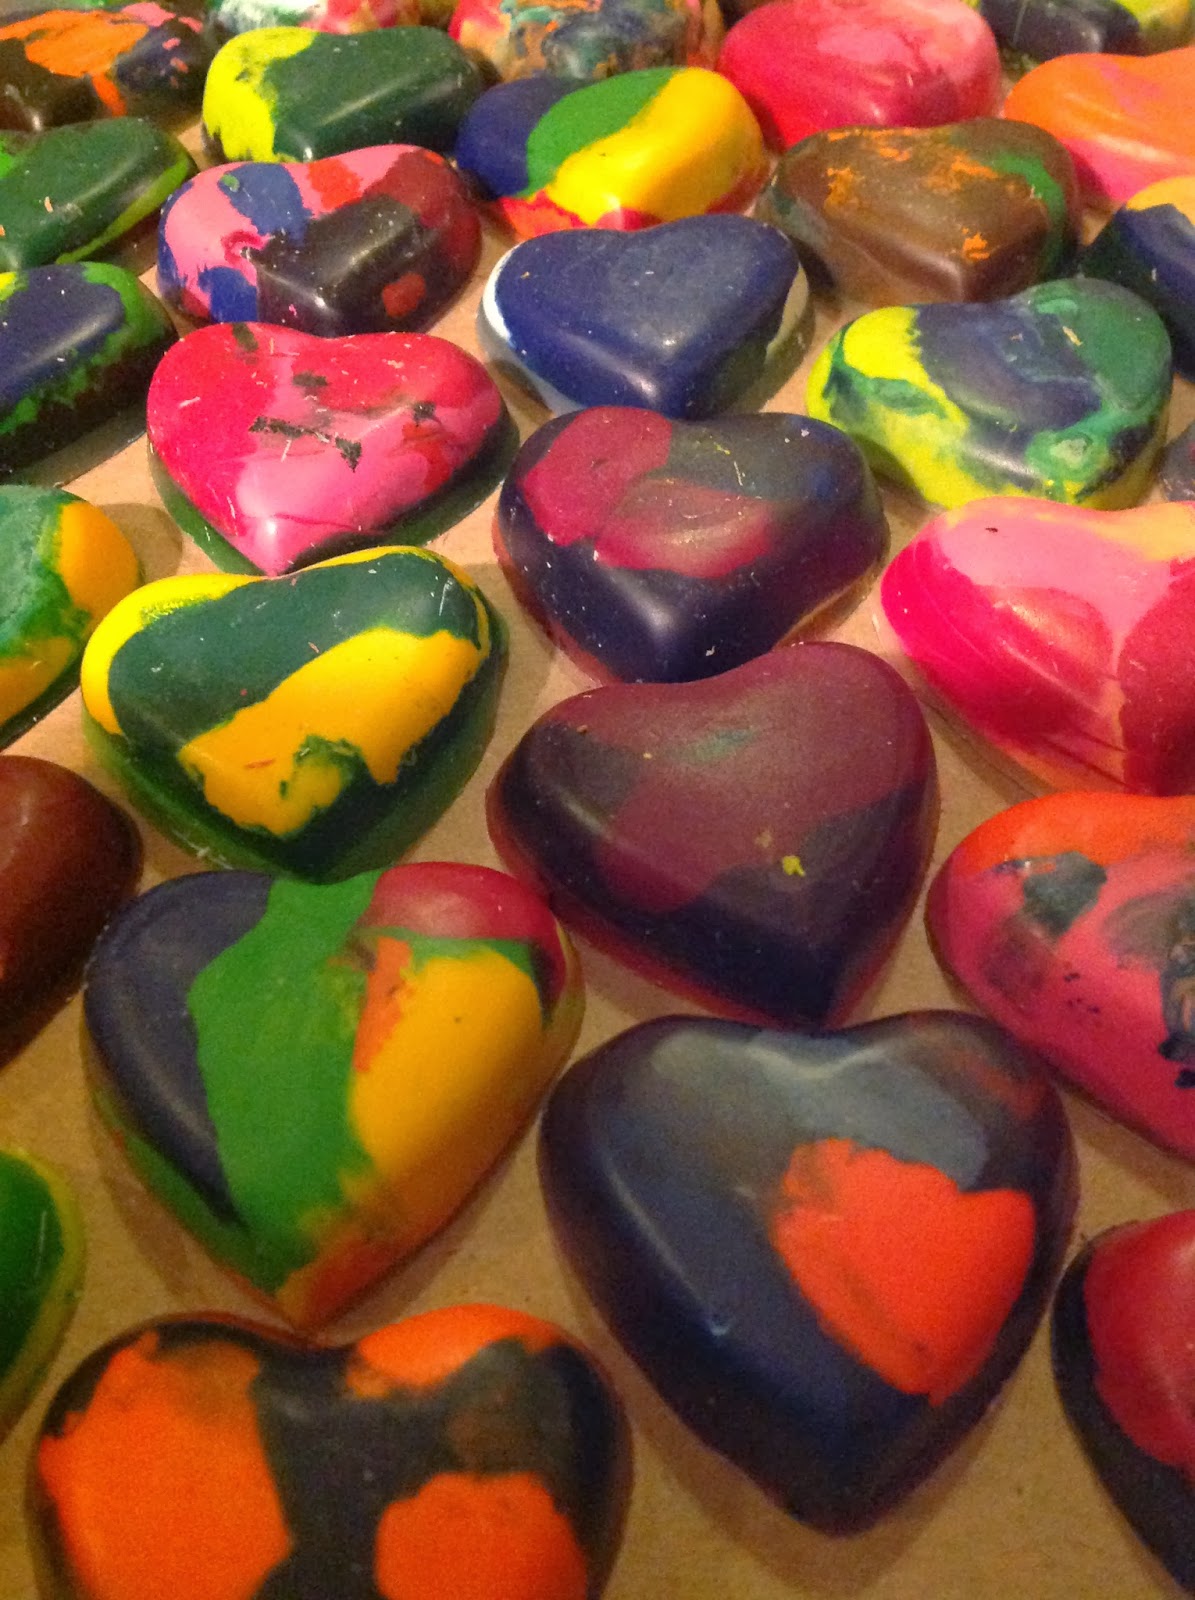
For the past 8 years my kids and I have made special valentine's heart shaped crayons. We decided years ago that kids at school did not need any more candy, and my kids wanted to do something special for their friends. And so a mini tradition was started.

Its our last year in elementary school, so this might be our last year for crayons. Its been a great way of keeping our crayon population under control.

This year we made 48 crayons. Enough for me to even have a few to pass out.


Kiddo's favorite crayons of this year. Especially the candy corn colored one.

These are my favorite for the year, I love the subtle color shifts.


Been trying to recreate the perfect rainbow crayon since that happy accident  a few years back. http://zoeowyn.blogspot.com/2012/02/img4923jpg.html


Wednesday, February 13, 2013

I <3 Robots


Every year for Valentines day I make my kids a special piece of jewelry. They are still little and I know this will get lost, but in time they may come to value that mom made them something special. Or not.

This year they seem to be full of squees when it comes to cute little square robots.
I was totally inspired by a wire artist I follow on facebook, who had a give away day for her tutorials as a big "Thank you" to all of her followers. So I wanted to give you all a free tutorial. Since I only have two tuts over on clay lessons, I decided to just publish the freebee here.

So happy Valentine's Day if you celebrate it, if not, happy February 14th! heres a little robot tutorial for you!

Supplies/ tools

half block polymer clay
big pinch of pink or red polymer clay for a heart
liquid polymer clay
eye pin (or twist your own with 2" wire)
2 seed beads
1 bugle bead
ball tip burnishing tool, or aluminum knitting needle
oven roaster bag
dedicated pie pan
index card
cookie sheet


Component building

Condition and start forming the pieces of your robot. I hand formed my body parts, you may decide for a more mechanical look to use a tissue blade to cut out your boxes.

All of my sizes are "ish" meaning not exactly

you will need:
3 small balls for "rivets"= 1/8 inch round
1 top knot = 1/8' tall x 3/16 x 3/16
1 head = 3/8" x 3/8" 1/8 thick
1 body = 1/2" x 1/2" 1/4" thick
1 hip box = 1/4" x 1/2" 1/4 thick
2 legs = cubes 1/4" per side
2 feet = balls 1/4" round
2 arms = 1/8"x 3/16" 1/8" thick
2 wrists = medium balls 3/16" round
2 hand pads = rounded triangles about 3/8" long

from the second color of clay a heart a little larger than the hand paddles.

Again the sizes are not exact, and you may find that you like a wider body and no hip box.


Assemble the body


Use a bit of liquid polymer between the pieces to ensure they cure together.

Attach the top knot to the top of the head, then add the head to the body.

At this point add the eye pin: make an indent with your ball burnisher (or knitting needle tip), add some liquid polymer clay into the divot, then shove the eye pin in.


Continue to build the robot body, remember to add a drop of liquid polymer between pieces.


Add the face

Using the ball burnisher or knitting needle make two small divots for the eyes, fill the divots with a small drop of liquid clay, place the seed beads so the hole looks like a pupil. Push the bead into the clay with the burnisher.

For the mouth make three small divots for the bugle bead, repeat the process you did with the eyes: a drop of liquid clay, place the bead, push into the clay.


Assemble the arms

There are two arm styles presented here.

Style A-arm along side the body: add the arms and wrist balls along side the body block.

Style B- arm holding heart: its easier to build the arm, then attach it to the body. Arm block, wrist ball, paddle hand. Make divots in the end of the arms to seat the wrist ball into. Make divots in the wrist ball to seat the paddle hands into. Place the arms so they are rotated away from the side.


Rivets

Cut one of the small balls in half. Place on either side of the head. Using the burnisher tool or knitting needle push little divots in the middle of the ball.

Place the remaining balls at the top of the arms (where the shoulder would rotate).  Using the burnisher tool or knitting needle push little divots in the middle of the ball.


Hearts

Style A has the heart placed in the middle of the body box, use liquid clay to help it to stick.

Style B holding the heart-- now this can get tricky-- to help support the hands hold the heart, roll up a small bit of paper towel and place it on the body block. Then gently rotate the wrist balls and paddle hands in towards each other, and place the heart between the paddles. Don't use too much liquid clay here or the heart will slip out of the hands, you need just enough for the heart to stick to the hands.


Cure it

Place your robot on an index card on your dedicated pie pan. Place the pie pan in the oven roaster bag, close the roaster bag with a twist tie. Place this on the cookie sheet and cure following your clay brand instructions.

Let the robots cool completely before taking them out of the pan, the arms on robot B need to be fully cured and cooled before touching them or they may fall apart.

Friday, February 6, 2009

PCAGOE Cupid Hunt


The members of PCAGOE, the Polymer Clay Artist Guild of Etsy, are sponsoring a Valentine Scavenger Hunt. To participate simply visit participating shops beginning February 6th 2009 and continuing until midnight EST on February 12, 2009, and find the hidden Valentine!

When you find the Valentine in a shop, convo the seller through etsy with the URL of the listing where the image is hidden, or the transaction number for the Item. You may enter once per participating shop.

That’s it! You must be a registered Etsy user to qualify, so if you have not already registered, please take a moment to do so, and you can join in our fun! Registering is fast and easy.

On February 14, 2009, the each seller will draw a winner at random using a random generator.

Here is a list of the other member shops participating in the hunt. Every member is offering a different prize!

tejaesart: polymer clay heart
SCDiva: $25 gift certificate (also valid at PCDiva)
DivaDea: a little love wall art
lynnslittlecreations: it’s a surprise!
SilverGate: two heart magnets
PuppyKissPortraits: Valentine kisses pendant
juliespace: $10 gift certificate
jkollmann: earrings
irismishly: set of four heart beads
ashpaints: 50% off one item
zoeowyn: paisley heart pendant
peggers: $20 gift certificate
beetreebyme: 20% off one order
polyclarific: a surprise pendant
angeli: chocolate truffle pendant
LaurelSteven: heart pendant
revonav: $50 gift certificate

links to all the shops can be found at PCAGOE.com

or you can start the search at my shop at zoeowyn.etsy.com and link to the other shops from there

Saturday, January 24, 2009

Art Cards


4 ACEO
Originally uploaded by Zoeowyn
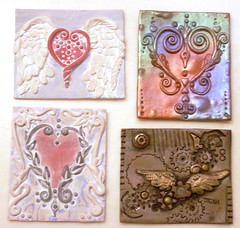
Im not a big art card maker. But I do try, and they are this months challenge in PCAGOE, and I do try to participate in the ones that are a challenge to me. I find the challenges help push me out of my comfort zone, making it larger.
So, I made art cards.
The top winged heart, and the filagree heart under that one both burned. I was bummed. later I decided to white wash them, instead of doiing a darker antiquing the way I usually do. I must say i was surprized. The white wash gave the cards a nice shabby chic look.
The mica powdered covered heart was my next attempt. Its not finished. It may never be finished. See all those lumps and bumps? Well, it boiled up during the curing process. I guess my toaster oven in the garage in the middle of winter is not such a good idea, it obviously could not maintain a constant temp, and most likely had temp spikes. Oh well. The hubby said sell it anyway no one will know. Doink--I will! He can be kinda thick sometiimes!
The last one is my attempt at steam punk. I think it turned out a bit more industrial than steam punk, but Im on my way. It is the card I selected as my entry piece for the challenge.

The challenge will be up and available for voting next week at http://www.pcagoe.com

Saturday, February 9, 2008

CRAYONS!


A few weeks ago a friend and I saw these nifty heart shaped ice cube trays at Target. They were cute and pink and I really had no use for them what so ever. Well the other day she says she has been thinking about making heart shaped crayons using those ice cube molds. I thought that was brilliant. Im so tired of all the candy gifts at school, why not give something else. And I really do want my kids to learn that spending money isnt the answer when it comes to gift giving.
So I said, oooh lets do that. She agreed and went in search of the mold. I say search because the ice cube molds were no longer at Target. She found some Wilton metal mini muffin molds, and thats what we used.
Crayons are a way of life at my house. We have not one, but two huge crayon buckets, so finding bits of crayons to use was not a problem.
The crayons turned out fabulous, the kids loved each crayon better than the one before.

This is what we did:

We started with all the broken crayon bits, making sure all the paper was taken off.

We broke the crayons into little bits, if the bits weren't little enought, we put the color combination into a baggie and smashed them with a small hammer.

We piled the crayon bits into the mold tray.

We melted the crayons bits into one heart shaped crayon, the melting was done in the oven at 220 degrees and took about 10 to 15 minutes

We then froze the trays to get the crayons out.


J-man and me filling the mold tray.

This is what we learned:

Different brands of crayons melt at different rates, and the cheaper crayons have more parafin in them, the parafin separates and rises, giving you a layer of solid pale color at what becomes the bottom of the crayon

If you dont want the separation, use the more expensive crayons, but hey, this is a project that uses what you have--if you dont want the parafin layer you can skim it off with a paper towel while the crayons are still melted CAREFUL its lava hot, or you can sand the layer off after everthing has cooled down.

Don't put the liquid melted crayons into the freezer to cool, they will crack and break when you remove them from the mold. Let the crayons naturally cool to room tempurature, then put the pan in the freezer so the crayons will pop out of the pan (BTW this is specific to the metal pan).

Put the glitter in when you are smashing the crayons, it then gets all over and will be spread through out the crayon.

Pile the crayons high. There is a lot of air space they need to melt into, if you make enough bits to fill the mold level you will end up with about half of the mold being filled with melted crayon.

Bake the mold on a cookie sheet with an edge to catch the spills. They wont spill going in, but if your mold is full to the top, it will spill on the way out.

The kids had enough attention span for 1 dozen crayons each.